
What are WordPress staging sites for?
As a WordPress site owner, and especially if you have a lot of visitors, you could benefit from using a staging site when working on your content or your code. This ensures the following things:
- You wouldn’t end up with a crashed production/live site if your changes led to an error (especially if working on PHP code).
- You would not lose any data if you deleted something by mistake. This can happen if you’re working on something you are not confident with, such as a specific type of content (calendar entry, knowledge base item, etc.).
- You can work on unfinished features without having to hide anything on the front end of the site. You can also leave it as is and get back to it later without worrying about visitors seeing something broken on the site.
- When working on design (i.e., CSS code), you can push everything at once when you’re done so that it looks consistent to your visitors.
With a staging site, you can safely try out a new WordPress theme, add new plugins, change code, perform updates, etc. If something happens, you can always pull the original version from the live site and start over.
A staging site can improve the way you work on your site
Having a staging site gives you more control over the development process and opens new doors for working on your website. You can easily have an editor write an article on the staging site and push it once approved. The same goes for a developer that you would hire to work on your WordPress theme.
Who needs a WordPress staging site?
If you belong to one of the below categories, you most likely will benefit from having a staging site:
- Managing a professional WordPress site.
- No sufficient technical skills to have a site back up if it crashes.
- Can’t afford any downtime and want to protect reputation.
- Generating income with your website.
- People depend on your site for different reasons.
What are the different ways to create a WordPress staging site?
In this article, we’ll go over several different ways of creating and using a WordPress staging site. Some are easier to put in place than others and depending on your knowledge, time and budget, you’ll most likely find one in this list that meets your requirements.
Here’s how you can create a WordPress staging site:
- Get a staging site through your hosting provider
- Use the plugin WP Staging
- Use the plugin WP Stagecoach
- Create your staging site manually
1. Get a staging site through your hosting provider
Some hosting providers have managed WordPress hosting plans that include a staging site. This is by far the easiest and most reliable way to use a WordPress staging site and although there might be differences between how these companies set it up and what you can do with it, it will save you a lot of time and usually works very well.
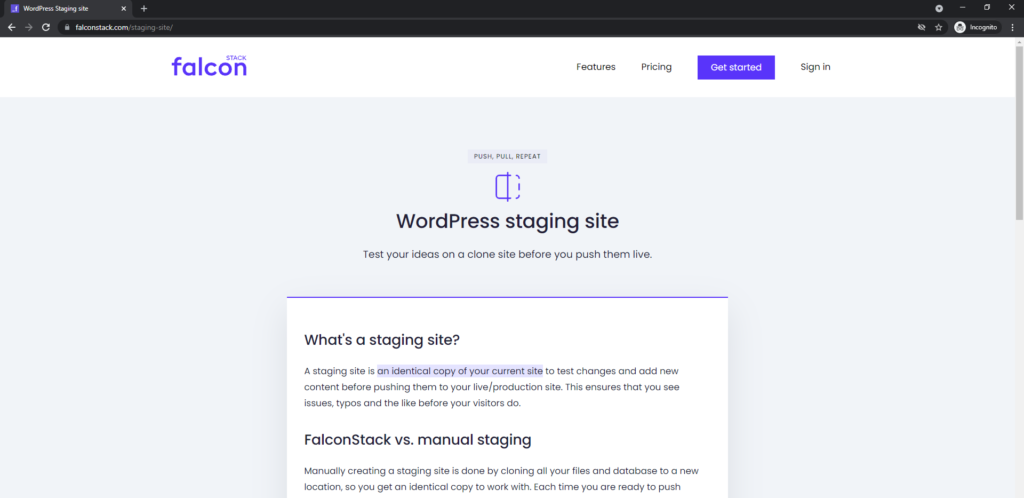
At FalconStack, we have a staging site feature built-in, available with all our plans. After signing up for one of our plans, we make an identical copy of your site and give you access to a dashboard where you can safely and quickly pull/pull changes between staging and live sites (you even have control over what gets transferred: data, files or both).
Note: if you are already a FalconStack user and you are looking for documentation about our staging feature, please read this article.
Some other good options for managed WordPress hosting with staging sites are Bluehost, SiteGround and Kinsta (note that we are not affiliated with any of these companies).
2. Use the plugin WP Staging
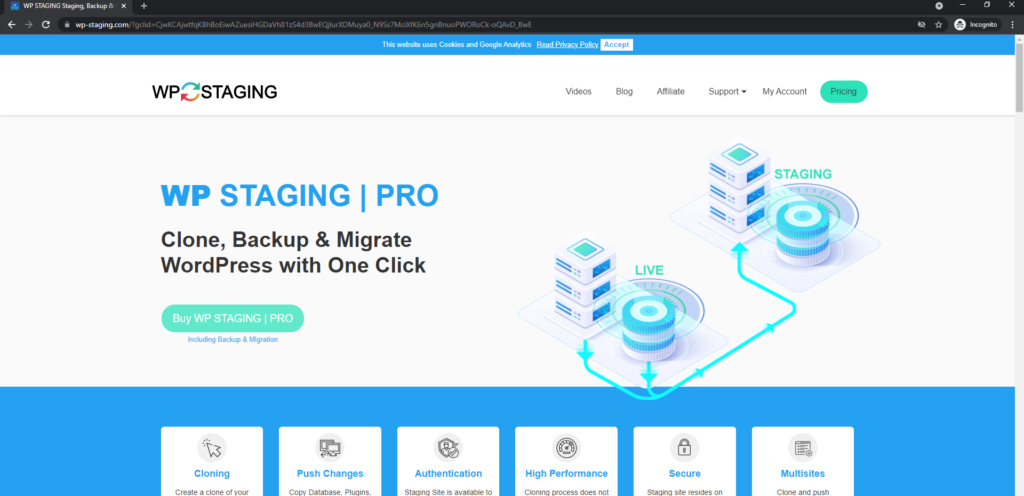
WP Staging is a popular plugin to create WordPress staging sites. It is free to clone your site, but you’ll need a subscription if you want to push changes live when you are done. This means that you could use WP Staging for free if, for instance, you are worried about a major WordPress update and wish to try it on a development environment first (you wouldn’t need pushing and could perform the update on the live site once you know it’s safe).
This plugin is very straightforward and once installed (you can get it here), you can create a new WordPress staging site at the click of a button. You only need to give it a name and wait for the cloning process to complete.
Once done, you can open your staging site and start working on it, as simple as that.
3. Use the plugin WP Stagecoach
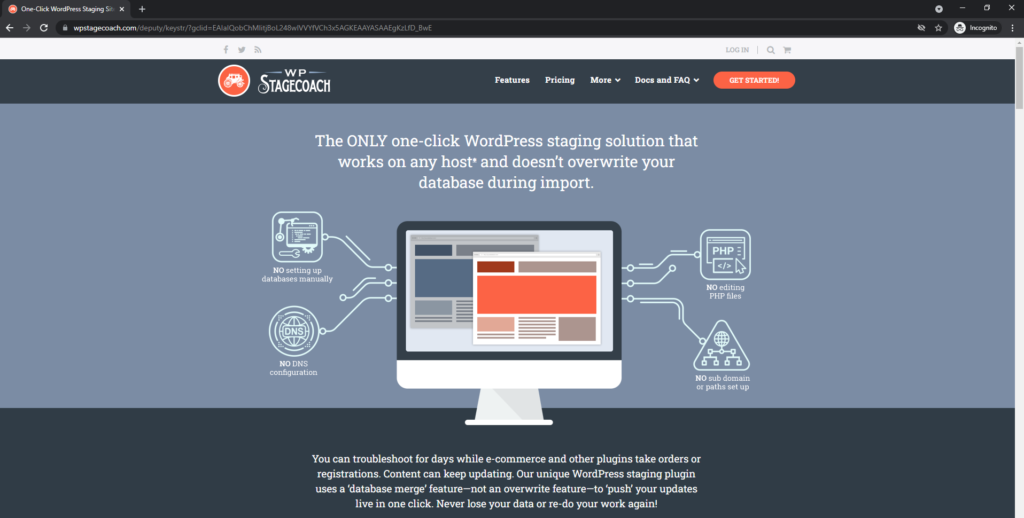
WP Stagecoach is very similar to WP Staging. Still, it has a few extra features like disabling caching plugins before creating the staging site and the ability to merge databases once you are done with your changes (instead of overwriting them).
Note that, unlike WP Staging, WP Stagecoach stores your staging site on their servers, not yours.
If you are going the plugin route for your WordPress staging site, we recommend trying both these plugins to see which one you like the most. They both will cost you a little under $100/y, which isn’t much when you know how valuable a staging site can be.
4. Create your staging site manually
We are not going to cover this in detail as this article isn’t a technical tutorial on how to create a WordPress staging site manually, but we’ll go over the necessary steps to achieve this so you know it’s possible (although much more time consuming than any of the ways mentioned above).
To manually create a staging site, you are going to need:
- A domain/subdomain like staging.yoursite.com.
- FTP access to your server.
- PhpMyAdmin/database access.
Once you have all this, you will have to do the following:
- Create a folder on your server (usually named “staging” or “dev”).
- Copy all the files located at the root of your live site to this newly created folder.
- Log in to your database manager (whether from your hosting provider or using PhpMyAdmin) and export your database.
- Create a new database for the staging site.
- Log in to this database and import the data previously exported.
- In the options table, change the entries “home” and “siteurl” to your new domain.
- Point the new domain to the staging folder (you’ll need to access your DNS manager for this).
- Log in to your staging site’s admin panel and install a plugin to search and replace the live URLs in your database (we recommend Better Search Replace).
- With this plugin, replace the live URLs in the newly created database with the staging URL (staging.yoursite.com).
- Go to Settings > Permalinks and hit Save to flush the permalinks and rewrite rules.
When you’re done, you can start working on your staging site. You can either manually push the changes to your live site by updating the database and files or by using a plugin that syncs both the databases for you.
WP Migrate DB PRO is an excellent example of this; you can install it on two separate websites and quickly push/pull data (and files) between them.
What option should I go for?
If you’re still not sure what option you should pick for your website, we recommend thinking about the amount of time and money you want to spend on this. Getting a staging site through your hosting provider is by far the most efficient and fastest way to get started. You get technical support if something goes wrong, and you can push your changes using a clean interface instead of doing things manually or through a plugin.
Interest in trying FalconStack? Read more about our staging feature on this page.